Lessons 3 · Real situations
Sunsets and backlight
A sunset is the hardest test of exposure, because the scene's brightness range is far larger than any sensor can hold. The sky near the sun can be more than ten stops brighter than the shadows in front of you. Your eyes adapt as they look around; the camera has to pick one exposure for everything.
The meter gets confused too. It sees a huge bright area and a dark foreground and averages them, which usually gives a photo with a washed-out sky and murky shadows: the worst of both.
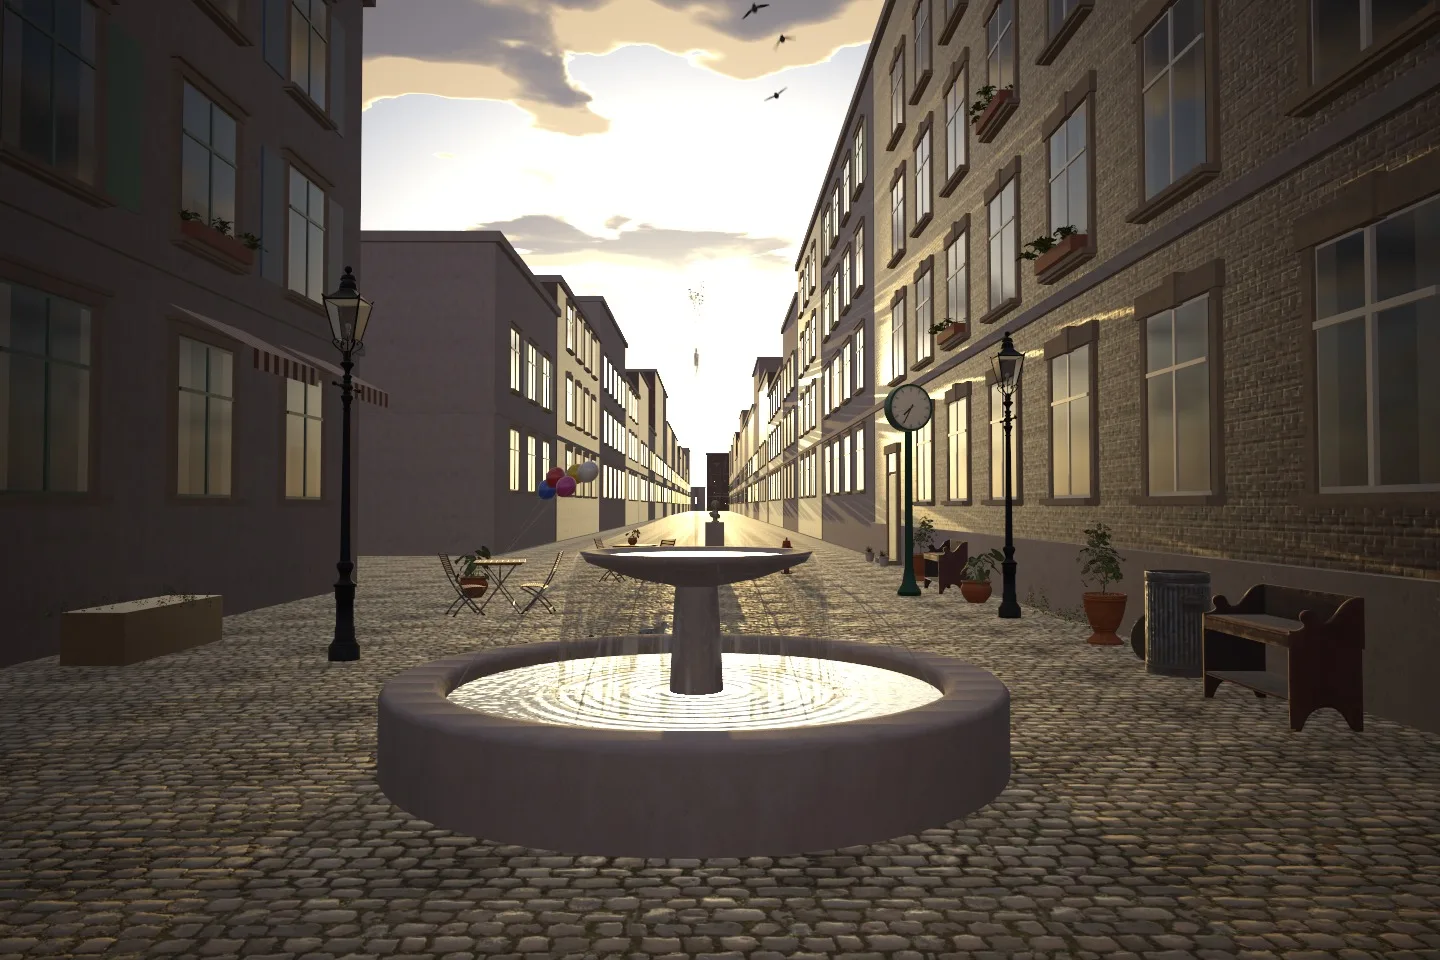
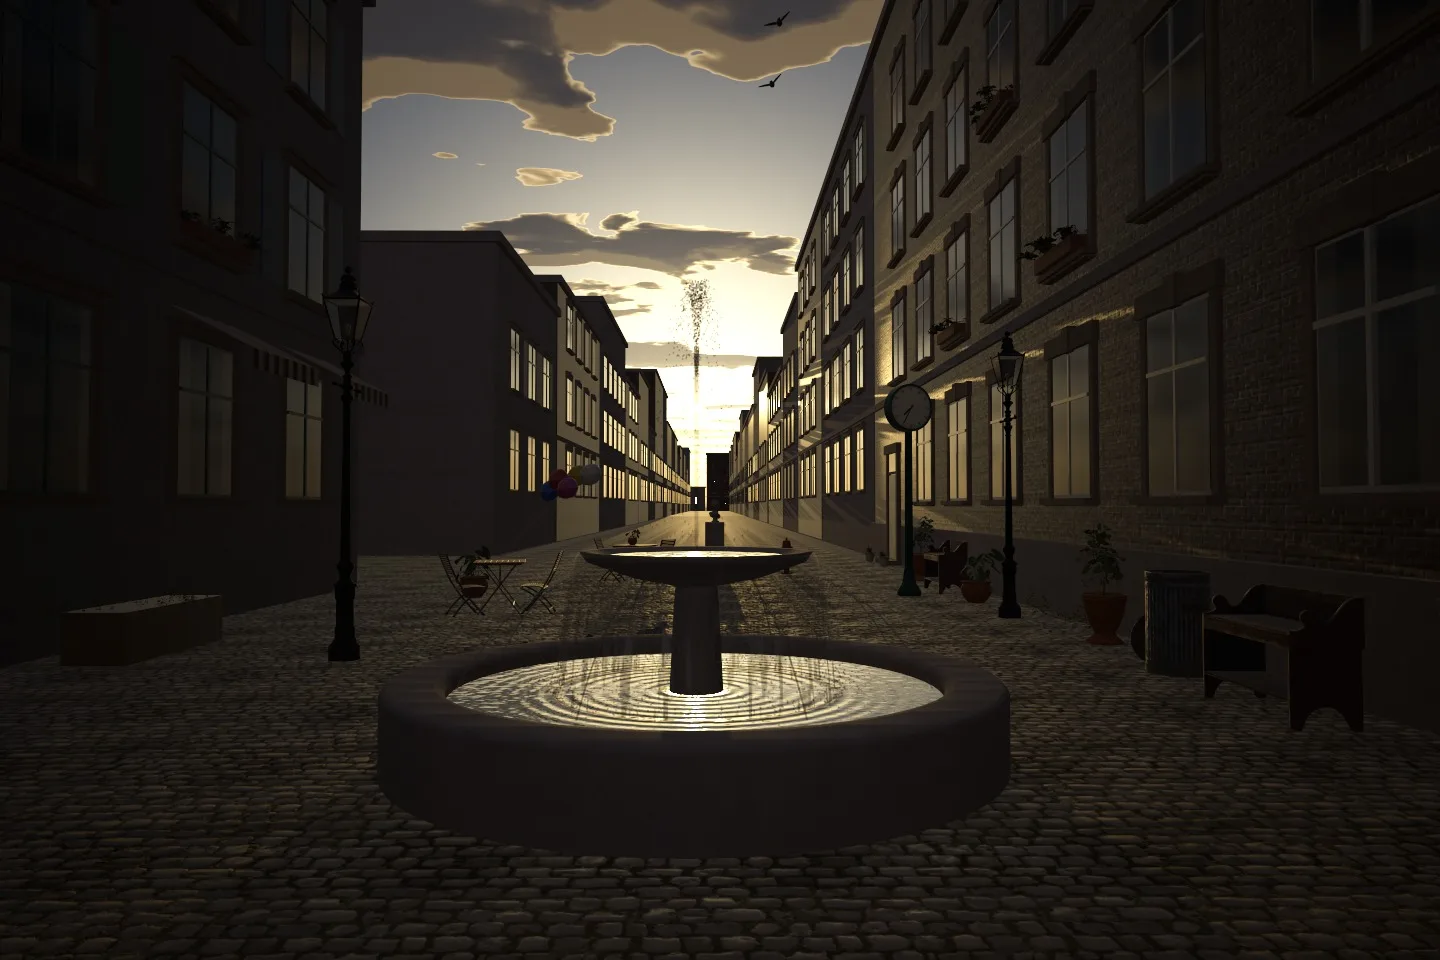
Expose for the sky
For the colours of the sky, dial in -1 to -2.3 stops of exposure compensation in aperture priority. Watch the zebras: they should disappear from the sky except right around the sun. Anything in front, buildings, trees, people, goes dark or black. That is usually fine; it is what a sunset looks like.
Do not point a long lens straight at the sun when it is still bright, and never look at it through an optical viewfinder. On a mirrorless camera the electronic viewfinder protects your eye, but leave the lens pointed at the sun for long and it can still damage the sensor.
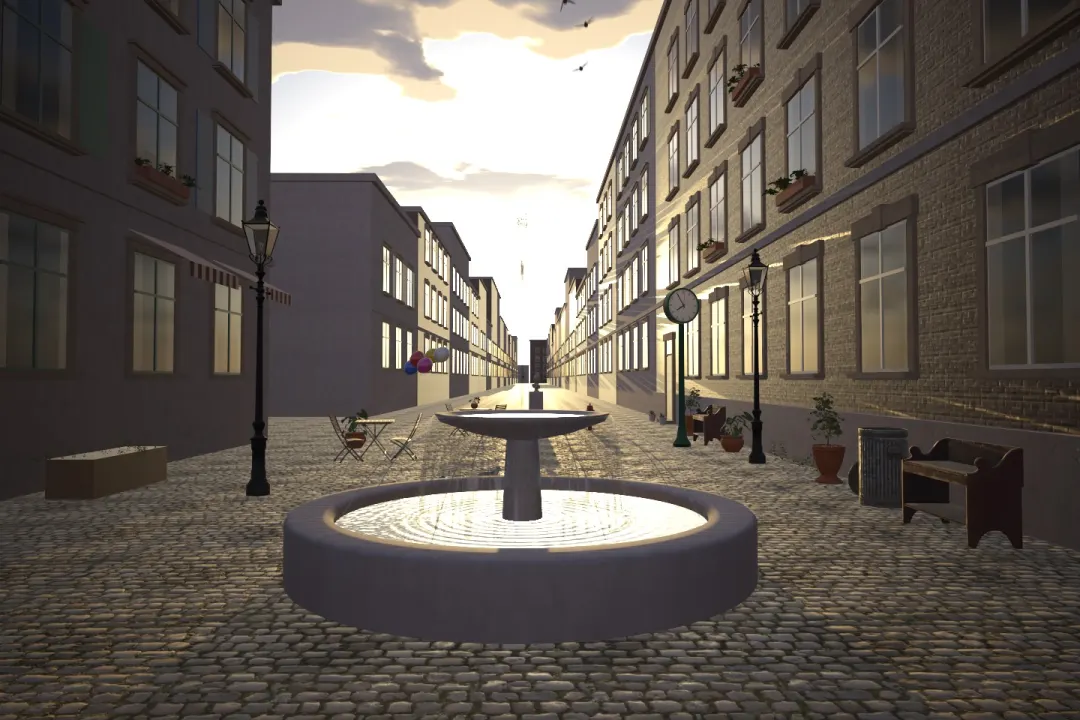
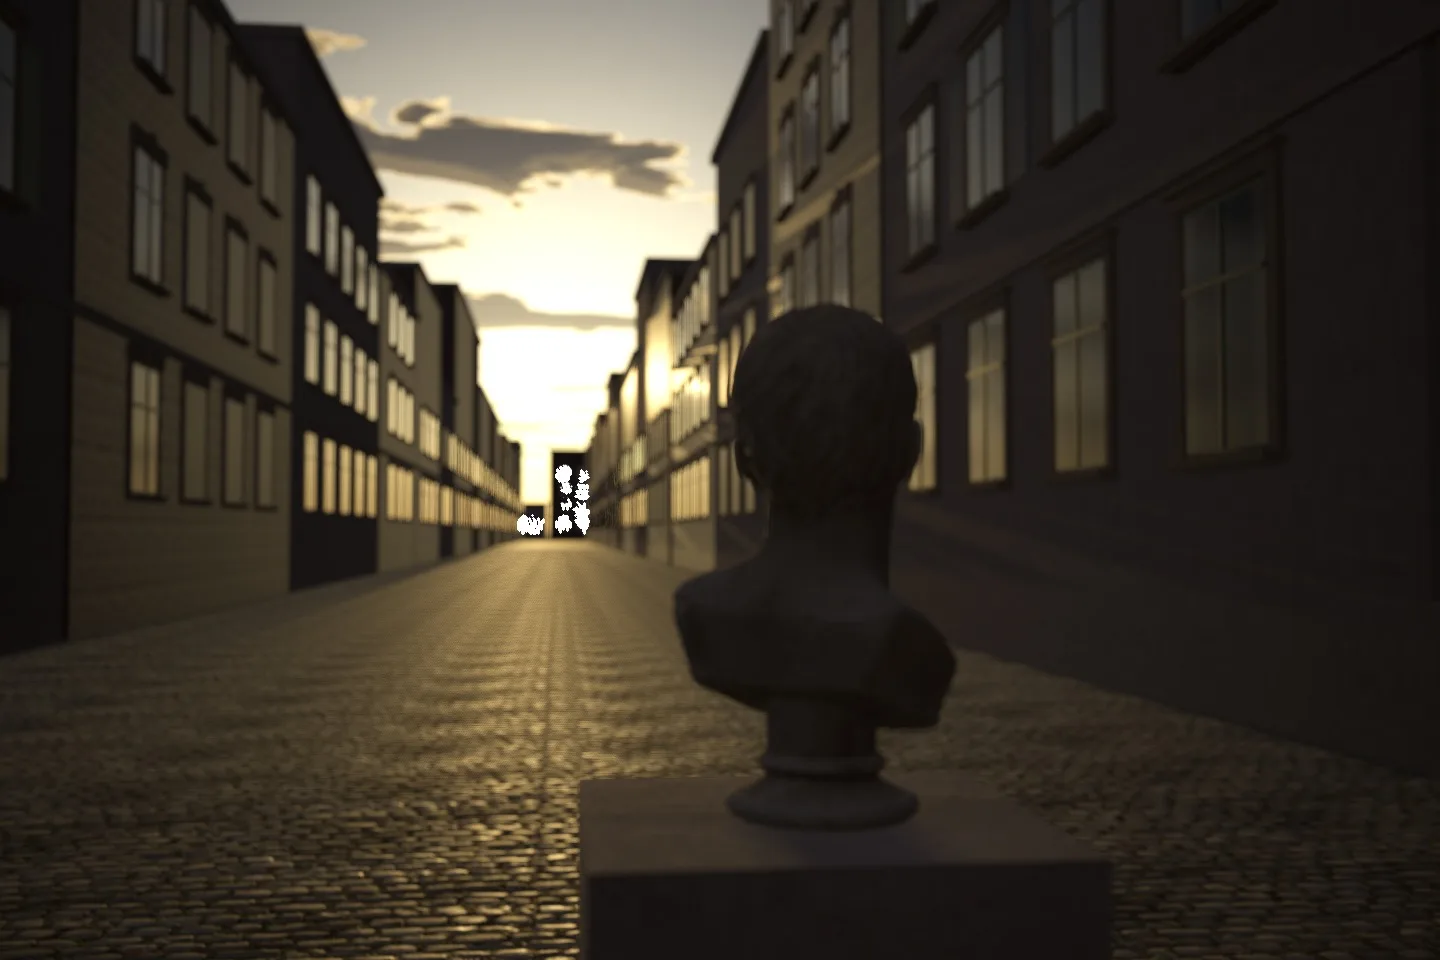
Try this: Drop exposure compensation to about -2 to keep the colour in the sky. The buildings turn into silhouettes. Then try +1 and see the sky wash out.
Silhouettes on purpose
A silhouette works when the shape is clear: a person in profile, a tree, a bike, a skyline. Separate shapes from each other so they do not merge into one blob, and keep them against the brightest part of the sky. Expose for the sky and let them go black.
Backlit portraits
With the sun behind a person, their face is in shade. Expose for the face and the background glows:
- Add +1 to +2 exposure compensation, or use spot metering on the face.
- Eye detection helps here: many cameras also bias the meter toward a detected face.
- Accept a bright, airy sky, or bounce some light into the face with a white wall or a reflector.
- Shoot as the sun sits just above the horizon for warm rim light in the hair.
Bracketing and HDR
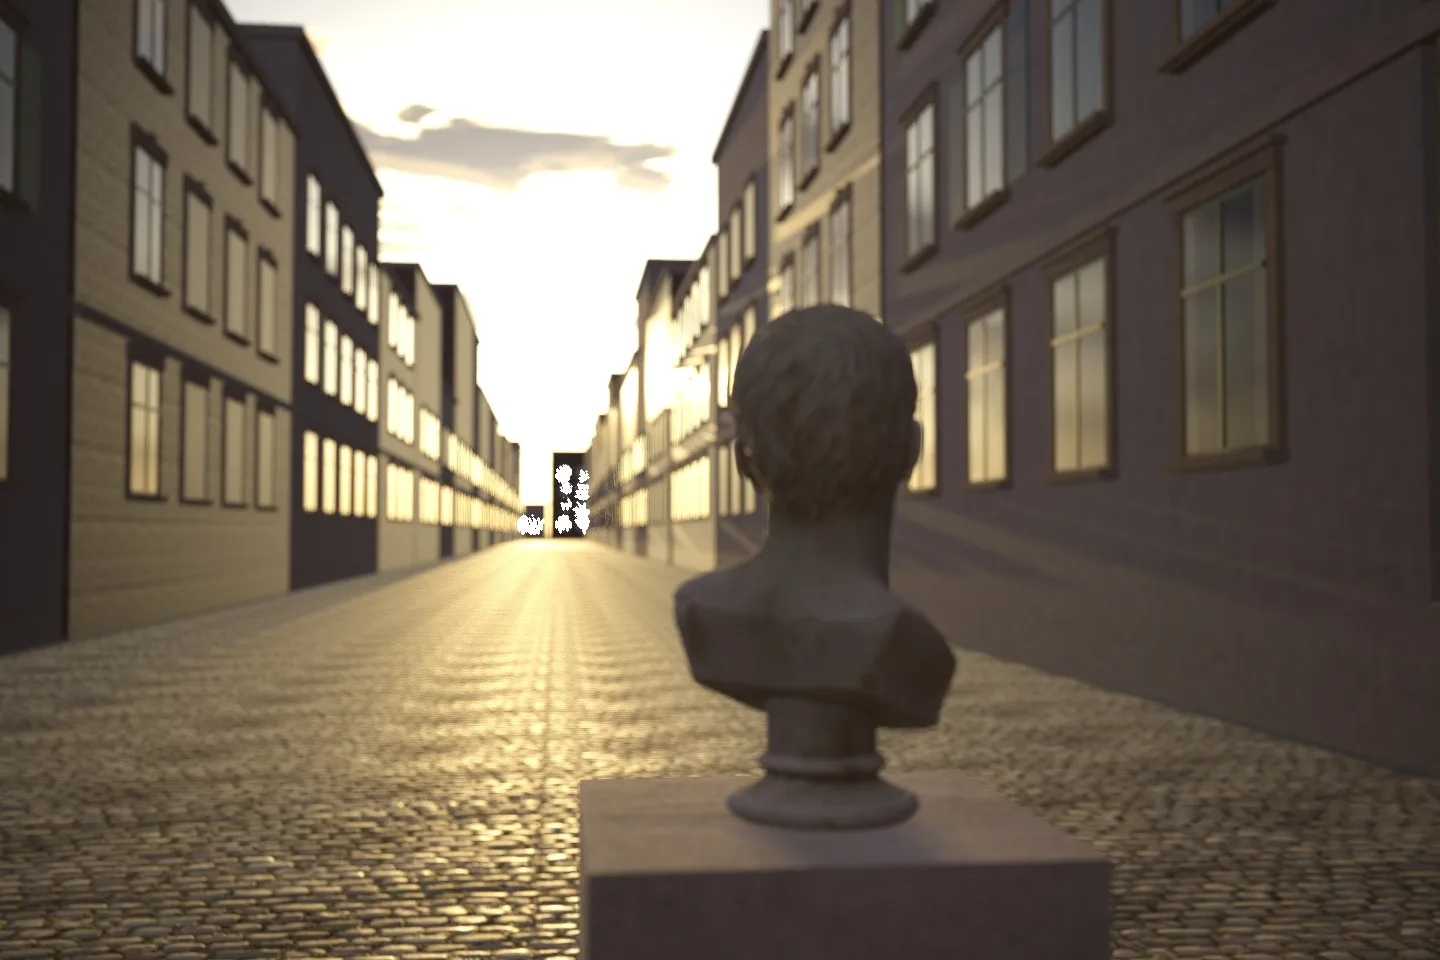
When you need both the sky and the foreground, take several photos at different exposures, for example -2, 0 and +2, and combine them later. Cameras call this auto exposure bracketing (AEB). Many also have an in-camera HDR mode that merges them for you. Use a tripod, or at least a fast burst, so the frames line up.
A simpler trick for landscapes is a graduated ND filter: dark at the top, clear at the bottom. It holds back the sky while leaving the foreground alone.