Lessons 2 · Using your camera
Focus: where and how much
A lens can only focus at one distance at a time. Things at exactly that distance are perfectly sharp, and sharpness falls off in front and behind. Depth of field decides how quickly it falls off, but the focus point decides where the sharpness is. Get it wrong by a few centimetres at f/1.8 and the eyes are soft while the ear is crisp.
Modern cameras focus astonishingly well, but they still have to guess what you want sharp. Telling them is your job, and it takes three decisions: when to focus, where to focus, and whether to let the camera do it at all.
When: single or continuous
- AF-S (single) focuses once when you half-press the shutter, then locks. Use it for things that do not move: landscapes, buildings, posed portraits.
- AF-C (continuous) keeps refocusing as long as you hold the button. Use it for anything that moves: kids, pets, sport, birds. On modern bodies many people simply leave AF-C on all the time.
Where: focus areas and subject detection
You can let the camera choose from the whole frame (wide), restrict it to a zone, or pick a single small point yourself. A single point is the most precise; wide is the most convenient.
Subject detection is the big change of the last few years. The camera recognises eyes, faces and bodies of people, animals, birds and often vehicles, and follows them around the frame. For people and pets, turn it on and let it work. When it locks onto the wrong eye or the wrong person, tap the right one on the touchscreen or switch to a single point.
Manual focus
Manual focus is still the best tool for some jobs: night skies, macro, shooting through a fence, or a video focus pull. Mirrorless cameras make it easy with two aids:
- Focus peaking outlines sharp edges in a bright colour. Turn the ring until the outlines sit on your subject.
- The focus magnifier zooms the viewfinder to 100% or more around the focus point, so you can see individual eyelashes or stars.
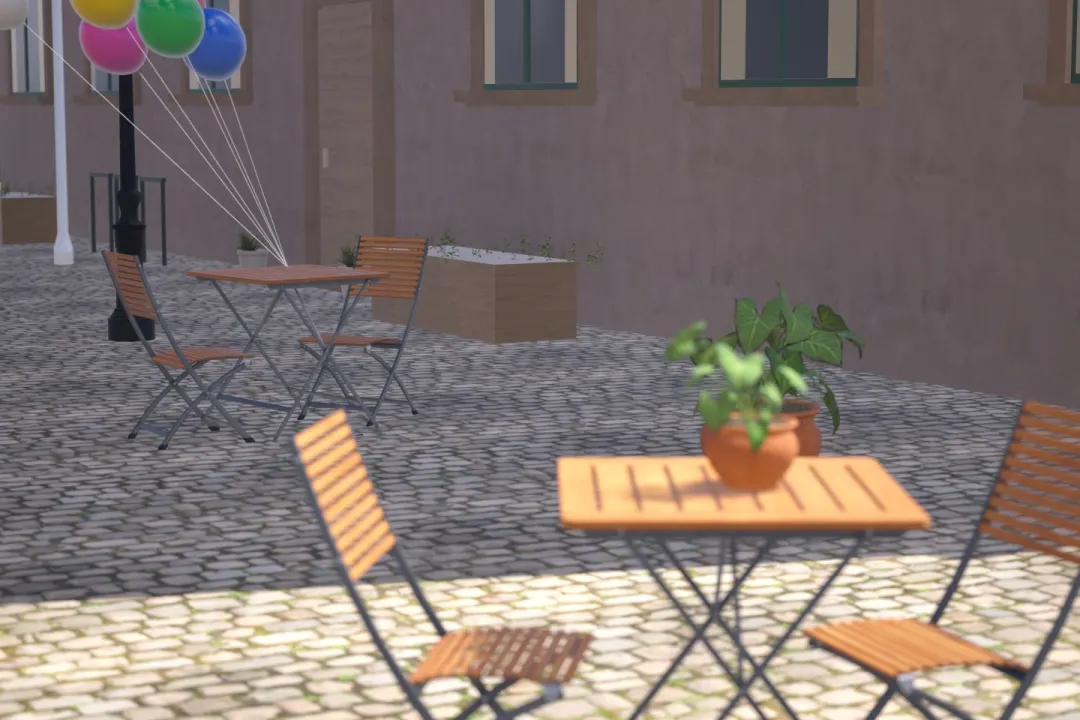
Try this: Use the focus slider like a manual-focus ring. Move the peaking outlines from the far buildings to the near table. Then click a spot in the picture to focus there, like tap-to-focus on a camera screen.
Hyperfocal distance: sharp to the horizon
For a landscape you want everything sharp, from the rocks in front to the mountains. Focusing on the mountains wastes depth of field behind them. Instead, focus at the hyperfocal distance: then everything from half that distance to infinity is acceptably sharp.
| Lens | f/5.6: focus at / sharp from | f/8: focus at / sharp from | f/11: focus at / sharp from |
|---|---|---|---|
| 16 mm | 1.6 m / 0.8 m | 1.1 m / 0.6 m | 0.8 m / 0.4 m |
| 24 mm | 3.6 m / 1.8 m | 2.5 m / 1.3 m | 1.8 m / 0.9 m |
| 35 mm | 7.6 m / 3.8 m | 5.4 m / 2.7 m | 3.9 m / 2.0 m |
| 50 mm | 15.6 m / 7.8 m | 10.9 m / 5.5 m | 8.0 m / 4.0 m |
Full frame, circle of confusion 29 µm. On APS-C, the same lens and aperture have a slightly longer hyperfocal distance because the image is enlarged more.
A simpler rule if you have no table: focus about a third of the way into the scene at f/8, then check with the magnifier that both the foreground and the far distance look sharp.